


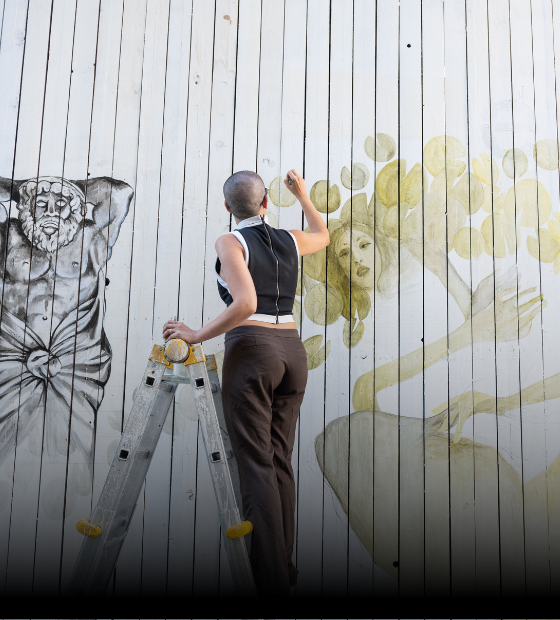
Learn how to create flexible acrylic skins (also known as acrylic sheets) of varying thicknesses, sheens, colors, textures and sizes.
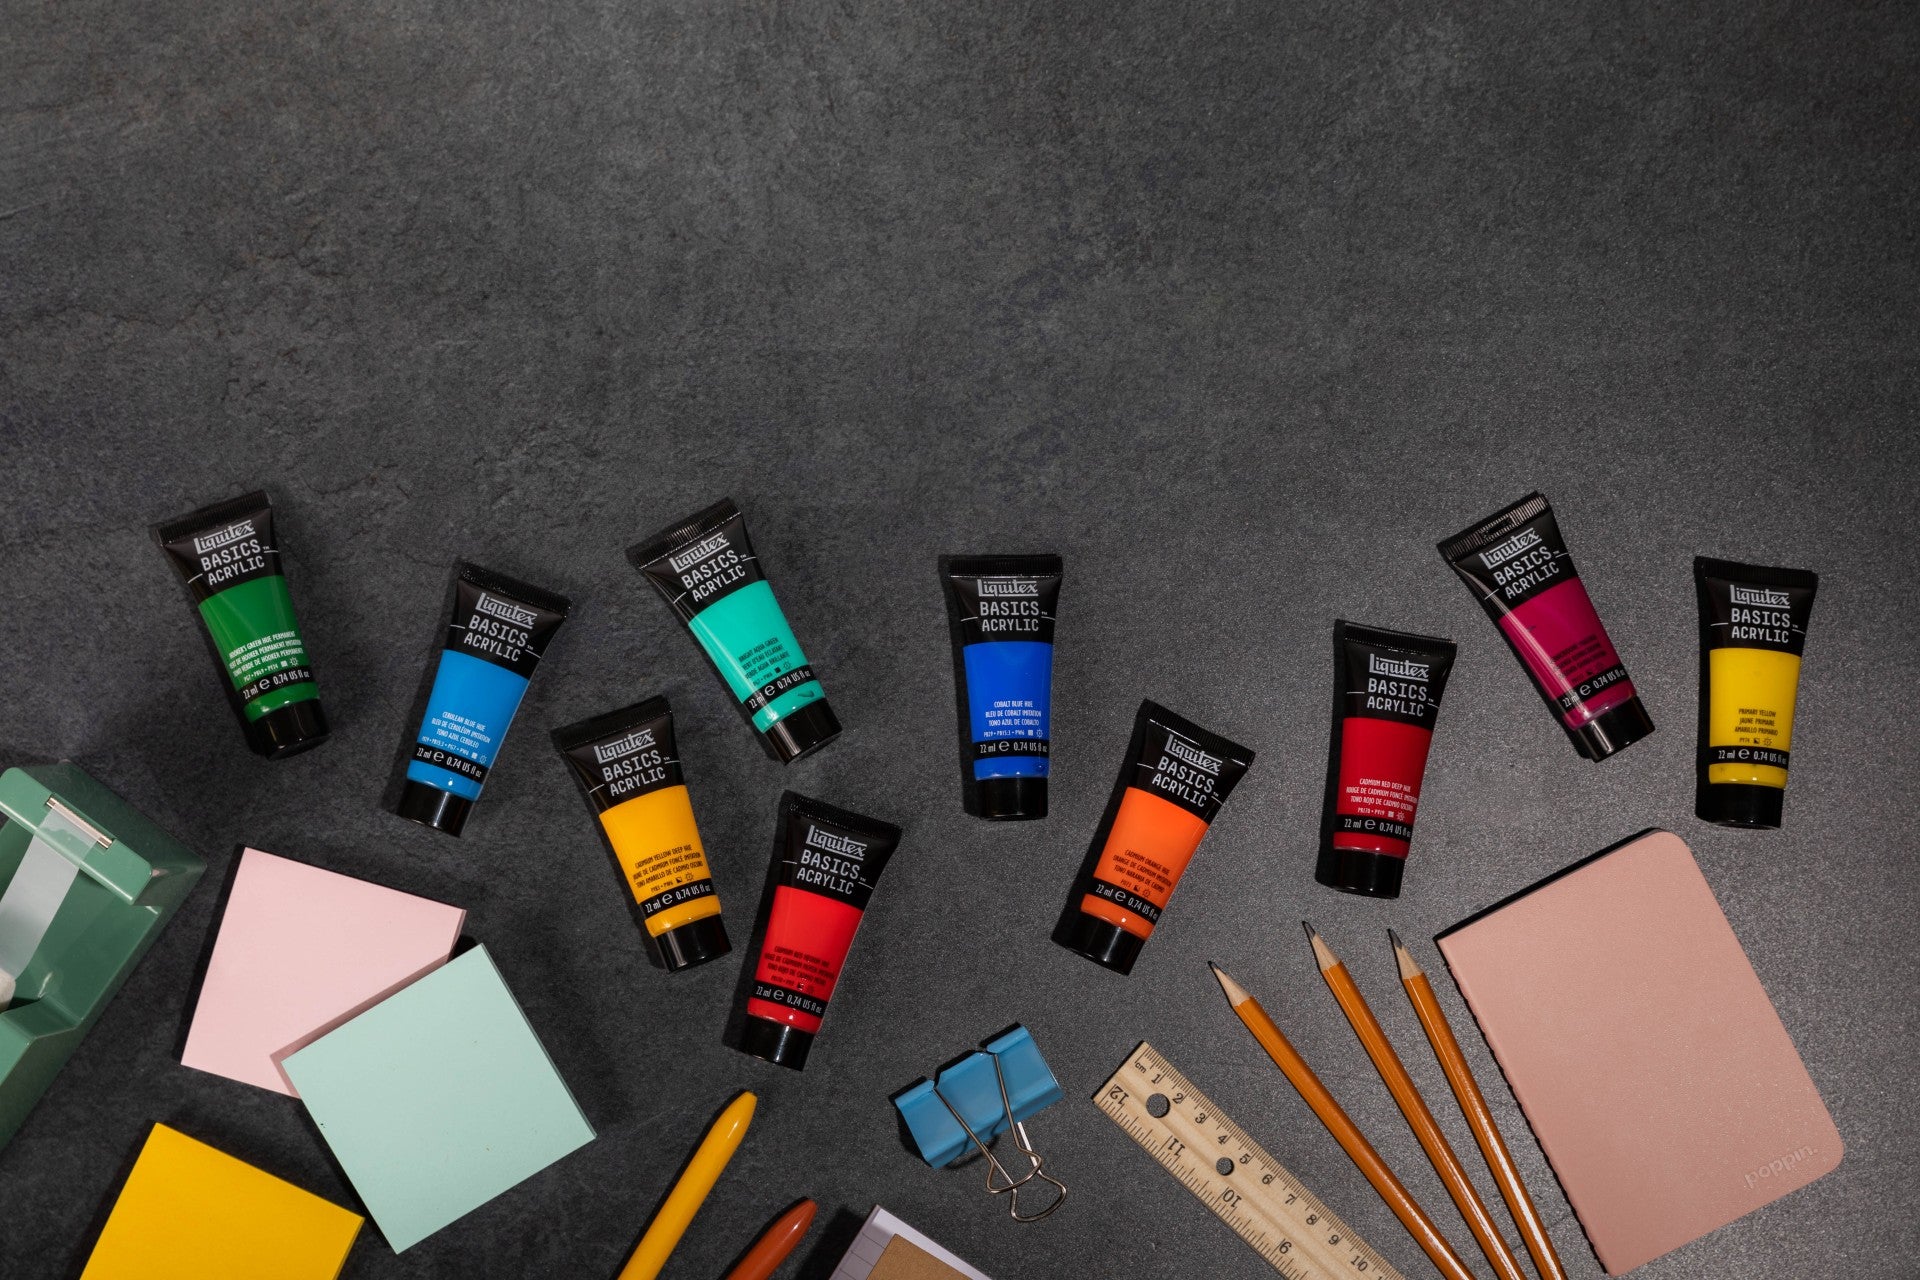
You can make a skin from a wide variety of Liquitex paints, mediums and texture gels, to achieve a range of effects. Each colour and medium will give a different quality to your end result.
Uses
- Self-supporting paintings - skins can be hung directly on a wall (no canvas or stretcher bars), as you might hang a quilt
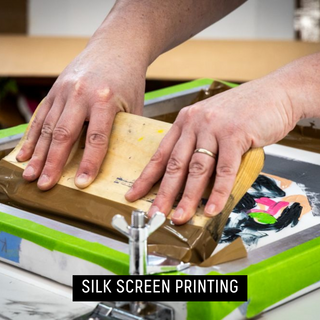
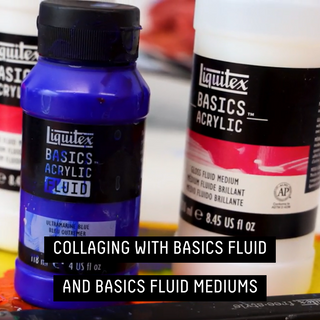
- Collage and mixed media - skins can be stuck to painting surfaces and painted over as collage elements in a mixed media work
- Sculpture - skins can be fixed to sculptural forms and left natural or over-painted
Directions
- First take a clean, dust/grease-free smooth sheet of glass or non flexible Perspex (or similar). This will be your surface
- If you want a free-form skin with irregular size and shape, leave the surface clear but if you want to create a specific size/shape, use masking tape to make an outline guide on the surface. Make sure the tape has good contact with the glass
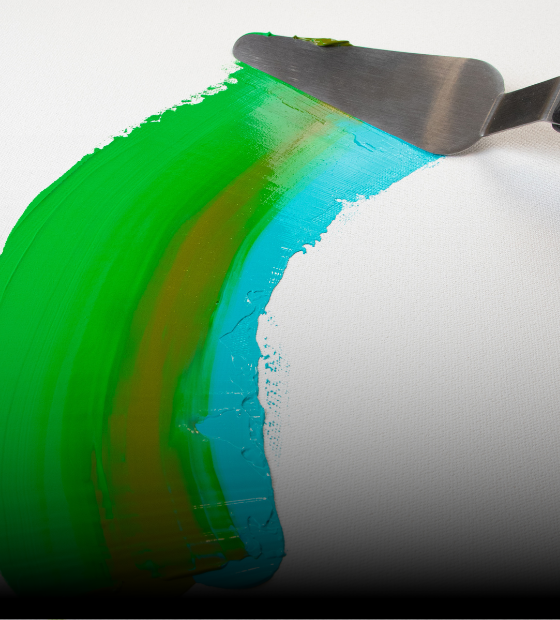
- Next prepare your acrylic. You can use a Liquitex medium or color, or a mixture of the two. 5-10% Liquitex Flow Aid Additive with 90-95% Soft Body gives a great combination for acrylic skins. You can experiment with Pouring Medium and Acrylic Inks, or any Liquitex combination that gives an even, fluid result. Remember to always dilute your Flow Aid (1 part Flow Aid to 20 parts distilled water) for smooth application.
- Now you need to decide if you are going to pour, drip, brush or roller your acrylic medium onto the glass
To pour or drip
- Let your mixture fully settle so that all air bubbles are gone (they can dry within the sheets otherwise) and then simply pour from a cup, jug or your choice of spout
- You can create organic shapes and forms depending on the thickness of paint and the amount you use
- You can apply different colors as layers - try wet in wet or leave each layer to dry and see what effects you get
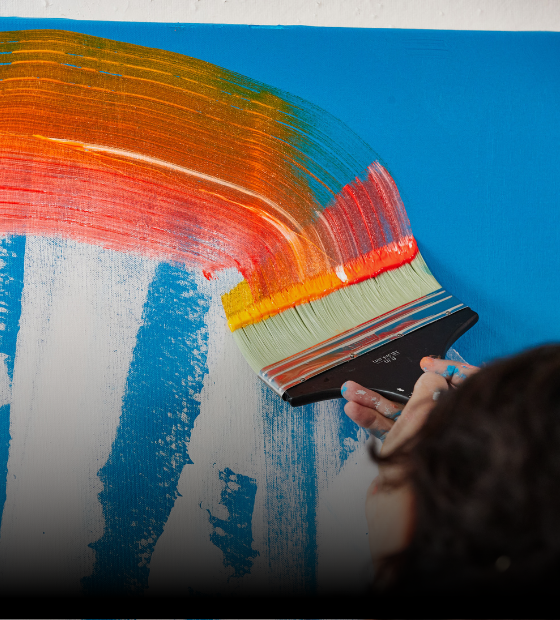
To brush
- Use a 1/2” - 2” wide soft brush to apply
- Allow to fully dry, (1–12 hours depending on environment) and repeat - we recommend using opposite brush directions for each successive layers for ideal strength and surface result
- Repeat until the skin is thick enough and won't tear when removed. 5–12 coats will give you a thickness of 1/16” to 1/8”
To roller
- Use a medium nap roller to apply your mixture as this will give thinnest application of acrylic
- Leave to completely dry out - the length of time will depend on the thickness and atmospheric conditions of your studio. If in doubt leave a little longer
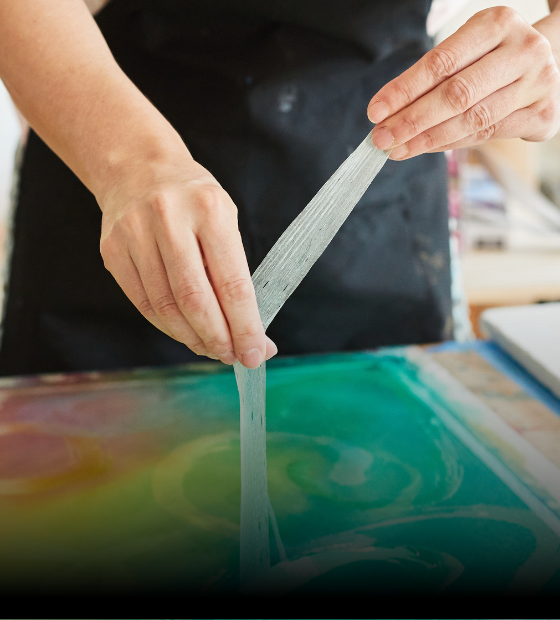
- Then take a fine palette knife and work under the first corner to lift it. Continue and it should all come away and be flexible and agile
- Rips can be repaired with a further application of your acrylic mixture
You now have an acrylic skin to use.
Ideas
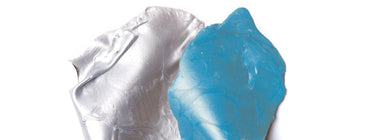
- For metallic and opalescent effects - use Liquitex Soft Body metallic colors, or mix a little Liquitex Flow Aid Additive into Liquitex Iridescent Medium
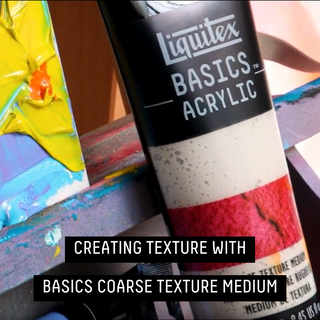
- For textured effects - add a textured effects medium such as Liquitex White Flakes or Glass Beads
- For transparent effects - use a Liquitex fluid medium such as Gloss Medium, or try adding 30% Liquitex Black Lava to Gloss Medium for a clear sheet studded with black speckles
- For matte/gloss effects - experiment by adding Liquitex Matte Medium or Gloss Medium to Soft Body


![LQX ACRYLIC MARKER SET 6X 2-4MM CLASSICS [CONTENTS] 887452001225](http://www.liquitex.com/cdn/shop/files/68762_375x375_crop_center.jpg?v=1707320720)

![LQX BASICS 24X22ML PAINT SET 887452028543 [FRONT]](http://www.liquitex.com/cdn/shop/files/80833_375x375_crop_center.jpg?v=1762458732)


![LQX BASICS 6x118ML SET 887452059226 [SET WITH CONTENTS 2]](http://www.liquitex.com/cdn/shop/files/130398_375x375_crop_center.jpg?v=1707324060)
![LQX BASICS 6x118ML SET 887452059226 [FRONT]](http://www.liquitex.com/cdn/shop/files/130396_375x375_crop_center.jpg?v=1762458768)