


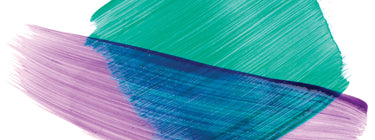
Imagine holding up a red lens. Now hold a blue lens in front of it, and look at the purple color that results from the first two. You’ve just made use of the basic painting concept of glazing, or mixing color by using transparent layers.
Glazing was the signature method used by artists like Leonardo da Vinci, Rembrandt, and Vermeer. They glazed because the pigments in their palette would turn black if they mixed them together directly. If they wanted a purple, they had to lay down a layer of transparent red, let it dry, then put down a layer of transparent blue to visually blend the colors, rather than physically mixing them on the palette. The light passing through the transparent layers gives the painting a special glow, which can shift and shimmer, depending upon the light. In this way, a very real depth of the painting can be achieved.
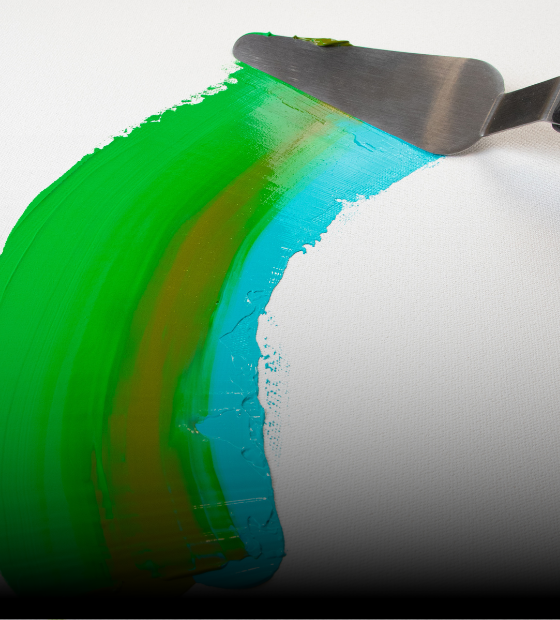
Working in acrylics, glazing techniques can be easily mastered. Using a dedicated acrylic medium, tinted with transparent acrylic colors, glazing produces rich surfaces with great color depth and jewel-like finishes. Transparent pigments will always deliver the best results, producing clean, clear glazes and you’ll find that by building layers of color, glazing brings a deep, burnished glow to your images.
DIRECTIONS
- Pick an area you can comfortably cover in 15-20 minutes - practice first to get a feel for the style and media
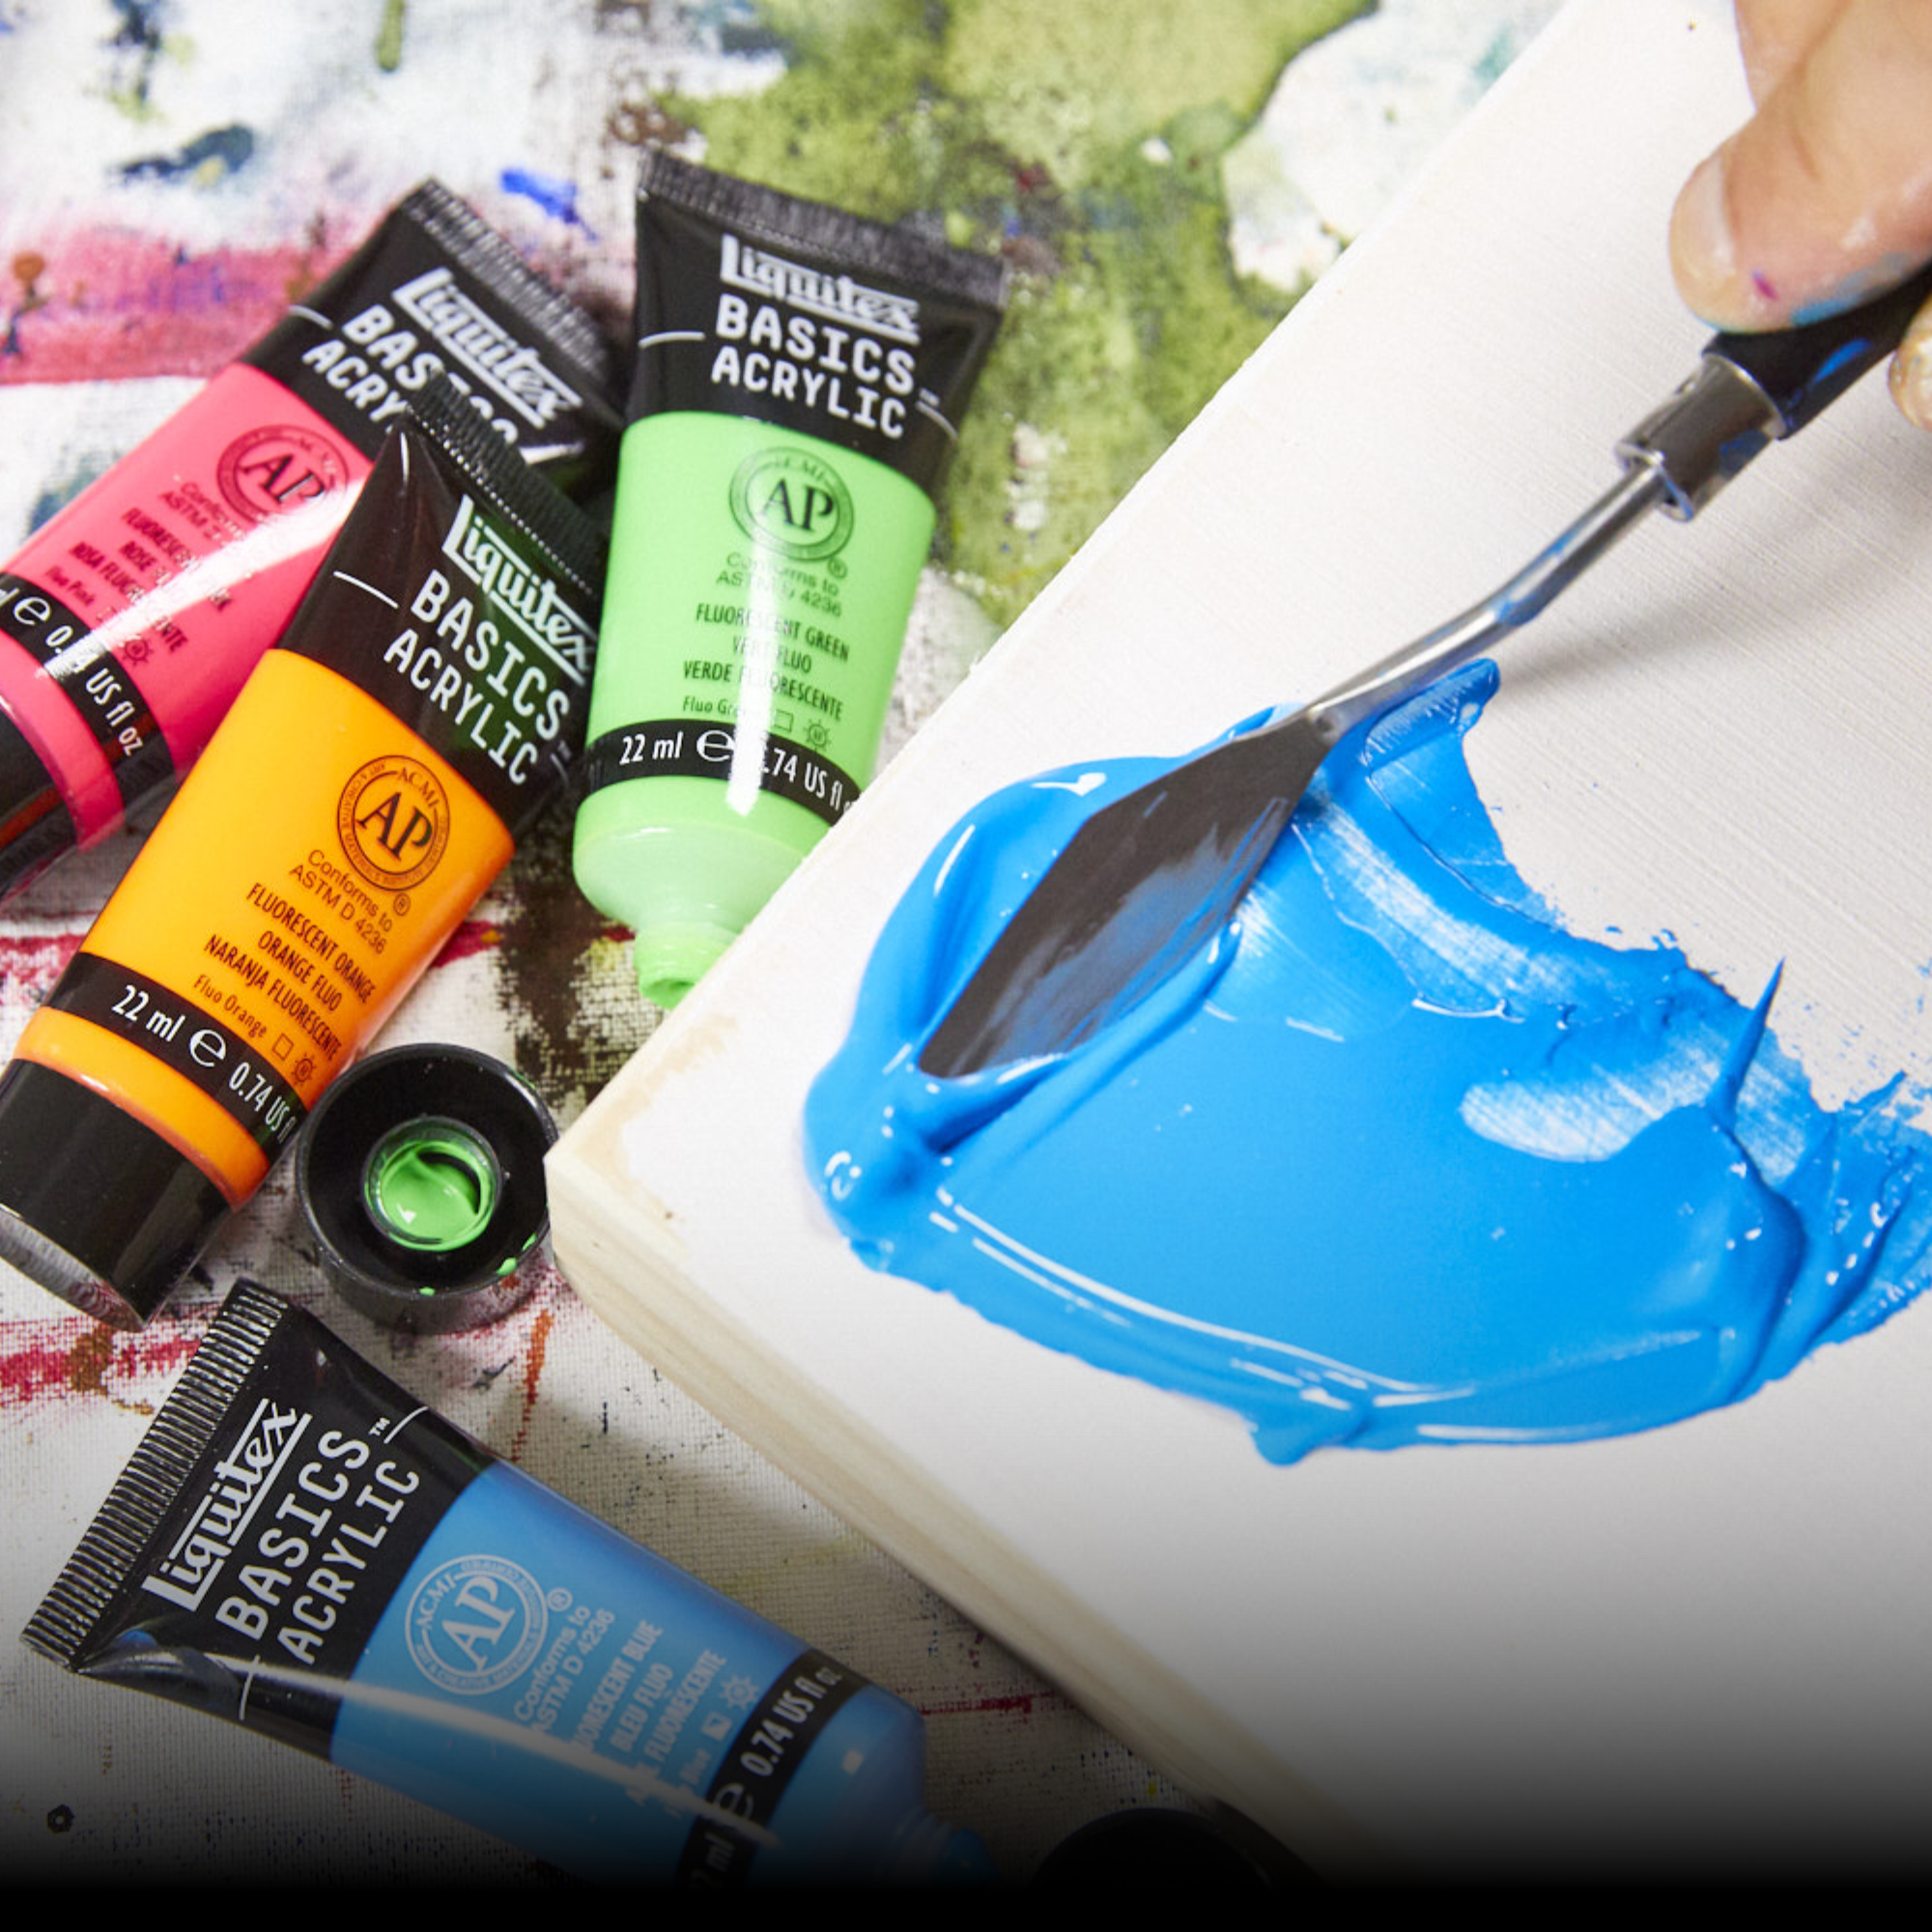
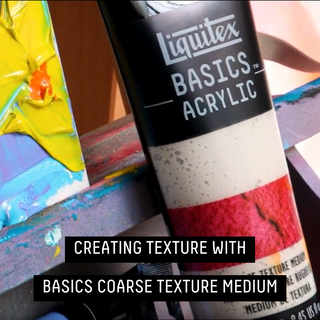
- Liquitex Soft Body Acrylic is the ideal viscosity for glazing so choose transparent colors by checking on the label or color chart
- For the ideal flow and brushability, make up your glaze by mixing 1 part transparent Soft Body color, to 10 parts Liquitex Glazing Medium. Our pigments have very powerful tinting strength, so you only need a small amount
- Mix the glaze with a palette knife rather than brush - if it's too thick, add some Airbrush Medium and stir well
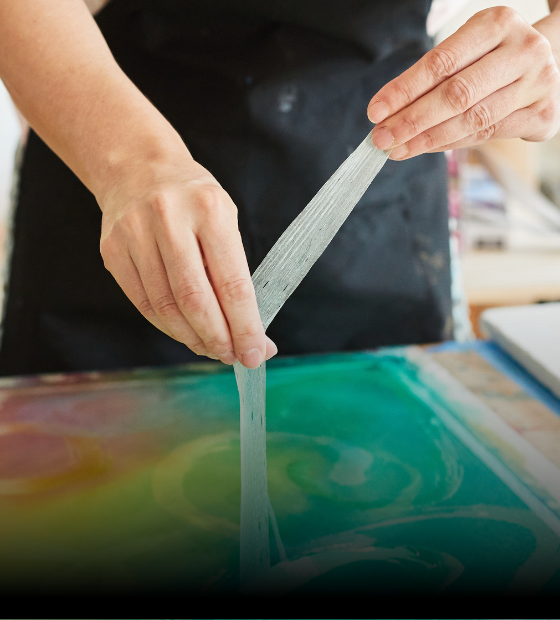
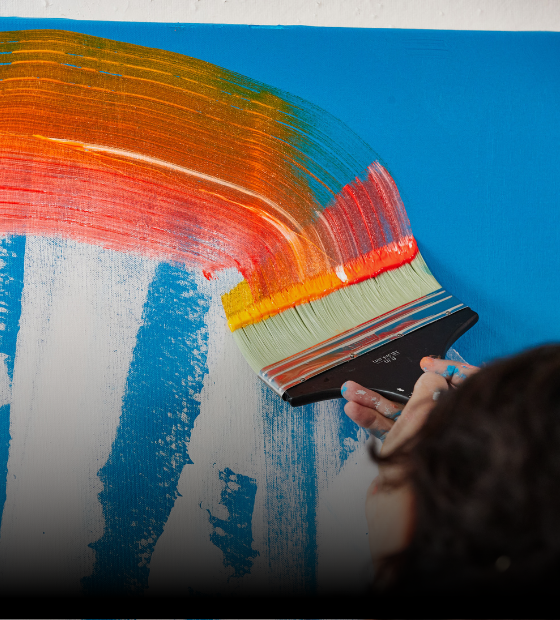
- Brush your glaze color on with a soft bristle brush, brushing in a single, uniform direction to create a smoother glaze. Let this layer dry for approximately 30-40 minutes
- Add a second glaze, repeating the process with a different color
- If you find your glaze dries too quickly for you to manipulate, add a small amount of Liquitex Slow-Dri Fluid Additive to the mixture or lightly mist the working surface with Liquitex Palette Wetting Spray
- The more glaze layers, the more visual depth your image will have
TIPS
- Layer paints and gel mediums to create thick relief glazes. To achieve the highest degree of translucency, allow each layer to fully dry before applying the next. Over time the colors will become brighter and deeper as the gel clarifies
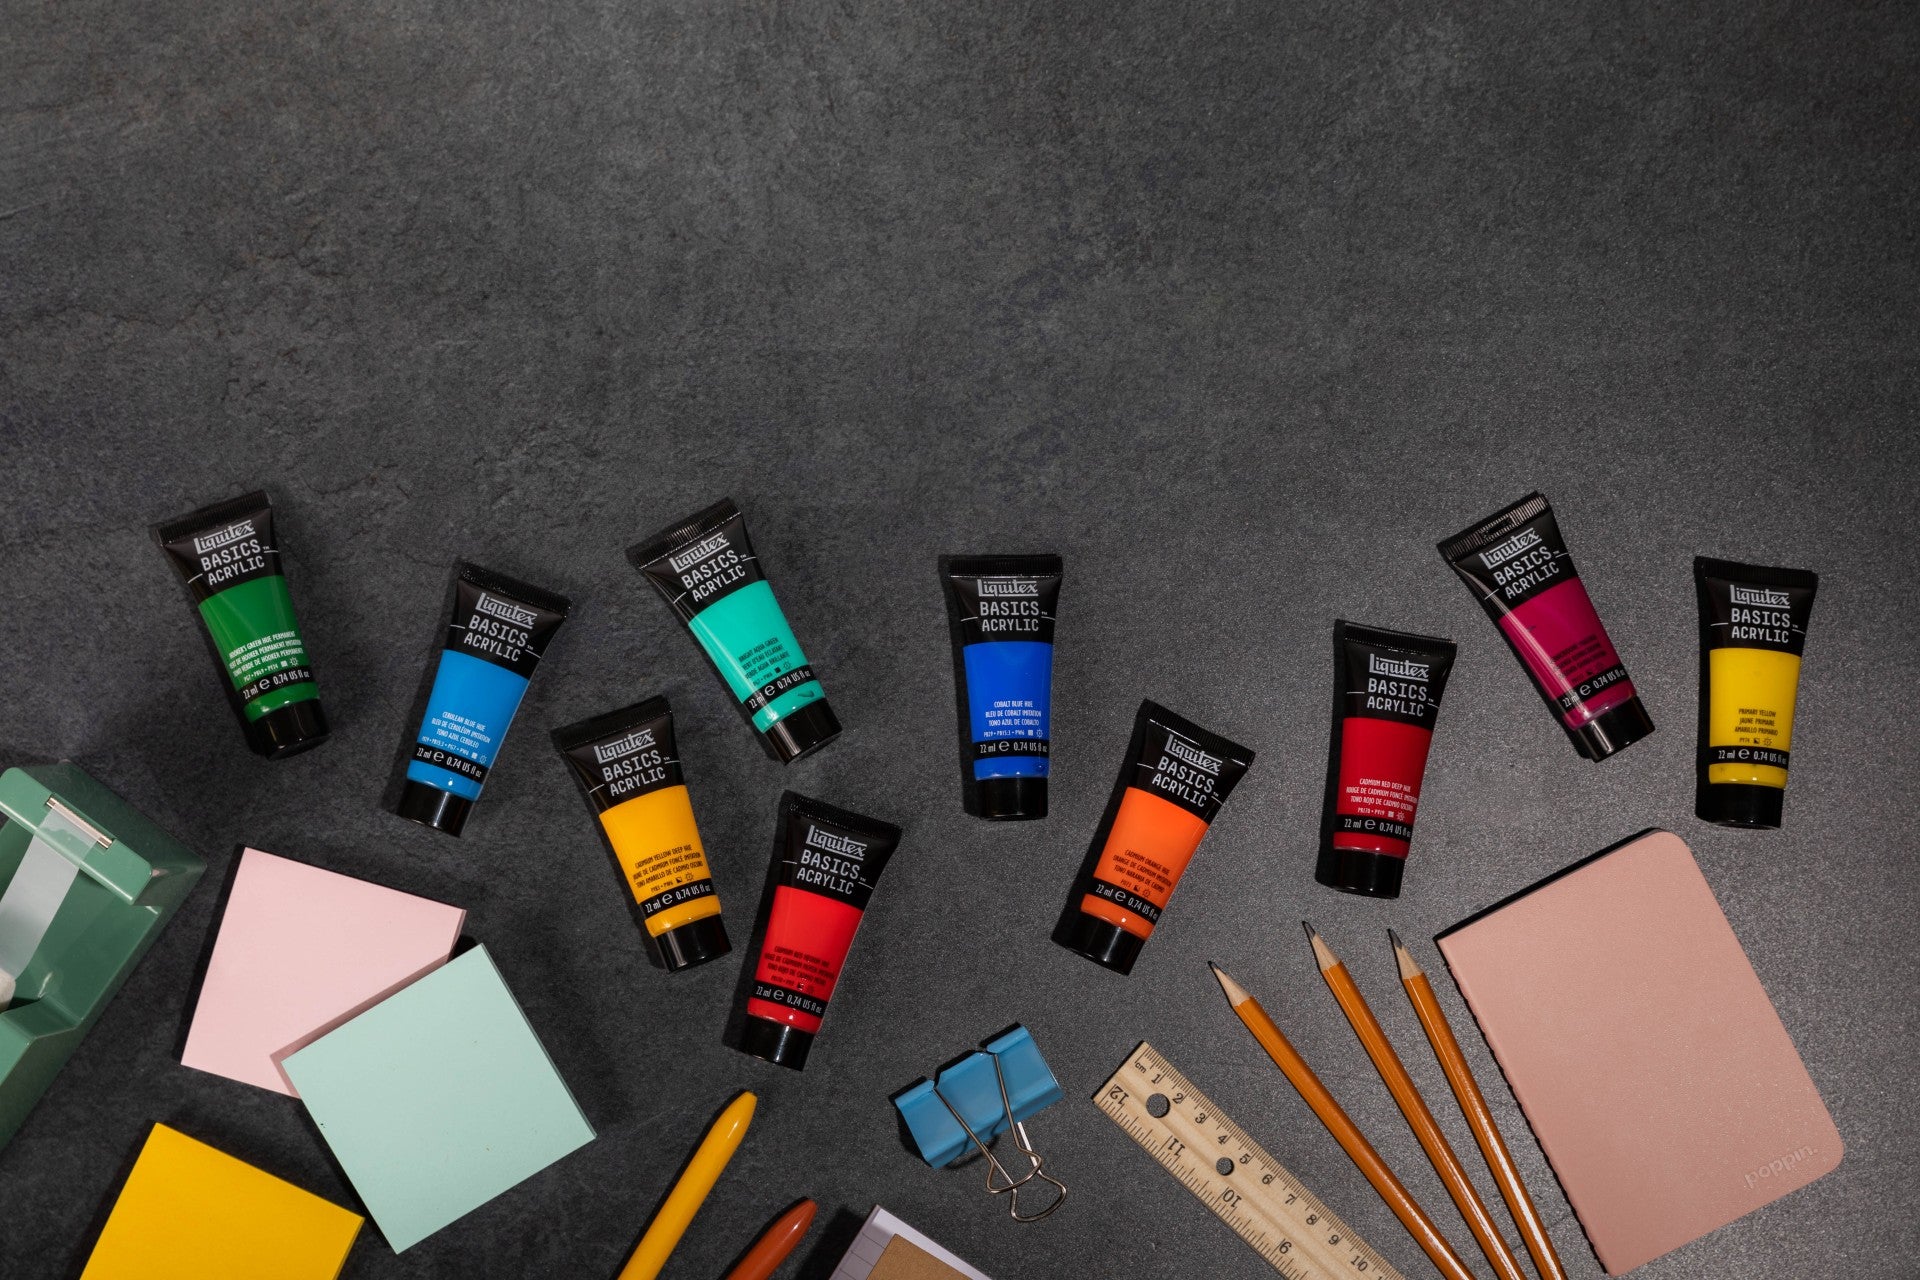
ESSENTIALS
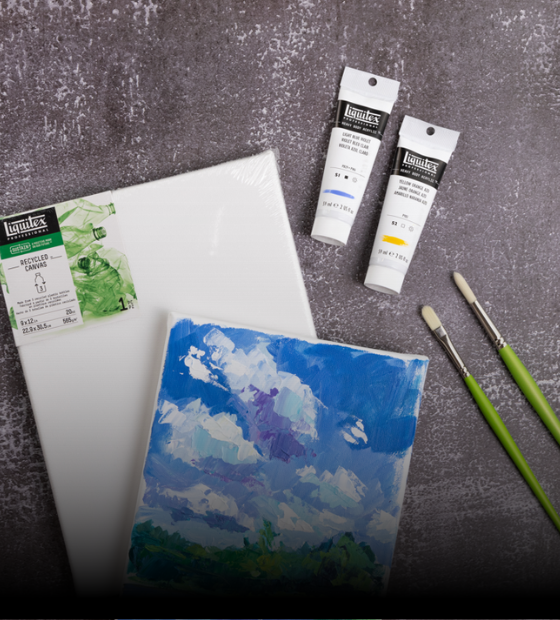
- Soft Body Acrylic and Glazing Medium - the optimum combination
- Gloss Medium and Slow-Dri Fluid Medium - can also be used in place of Glazing Medium
- Airbrush Medium - to thin color mix
- Gloss Gel - for relief glazes
- Slow-Dri Fluid Additive or Palette Wetting Spray - to extend open time


![LQX PRO MEDIUMS GLOSS MEDIUM [WEBSITE SWATCH]](http://www.liquitex.com/cdn/shop/files/72014_375x375_crop_center.jpg?v=1762374072)


![LQX ACRYLIC MARKER SET 6X 2-4MM CLASSICS [CONTENTS] 887452001225](http://www.liquitex.com/cdn/shop/files/68762_375x375_crop_center.jpg?v=1707320720)

![LQX BASICS 24X22ML PAINT SET 887452028543 [FRONT]](http://www.liquitex.com/cdn/shop/files/80833_375x375_crop_center.jpg?v=1762458732)


![LQX BASICS 6x118ML SET 887452059226 [SET WITH CONTENTS 2]](http://www.liquitex.com/cdn/shop/files/130398_375x375_crop_center.jpg?v=1707324060)
![LQX BASICS 6x118ML SET 887452059226 [FRONT]](http://www.liquitex.com/cdn/shop/files/130396_375x375_crop_center.jpg?v=1762458768)