


Dive into pools, puddles and wet-look rivers of color with our ultimate guide to POURING. From flawless Dutch pours
to dripping with Acrylic Inks, discover how to create and manipulate infinite streams of acrylic in a range of finishes and effects.
Get the optimum finish using Soft Body and Liquitex Pouring Medium, our dedicated acrylic medium for this technique. It’ll
give you endless flowing color, which dries without cracking in a choice of high gloss, matte, satin and iridescent. Unlike water, Pouring Medium will preserve the strength of your acrylic film and make sure it flows and dries fully
YOU’LL NEED
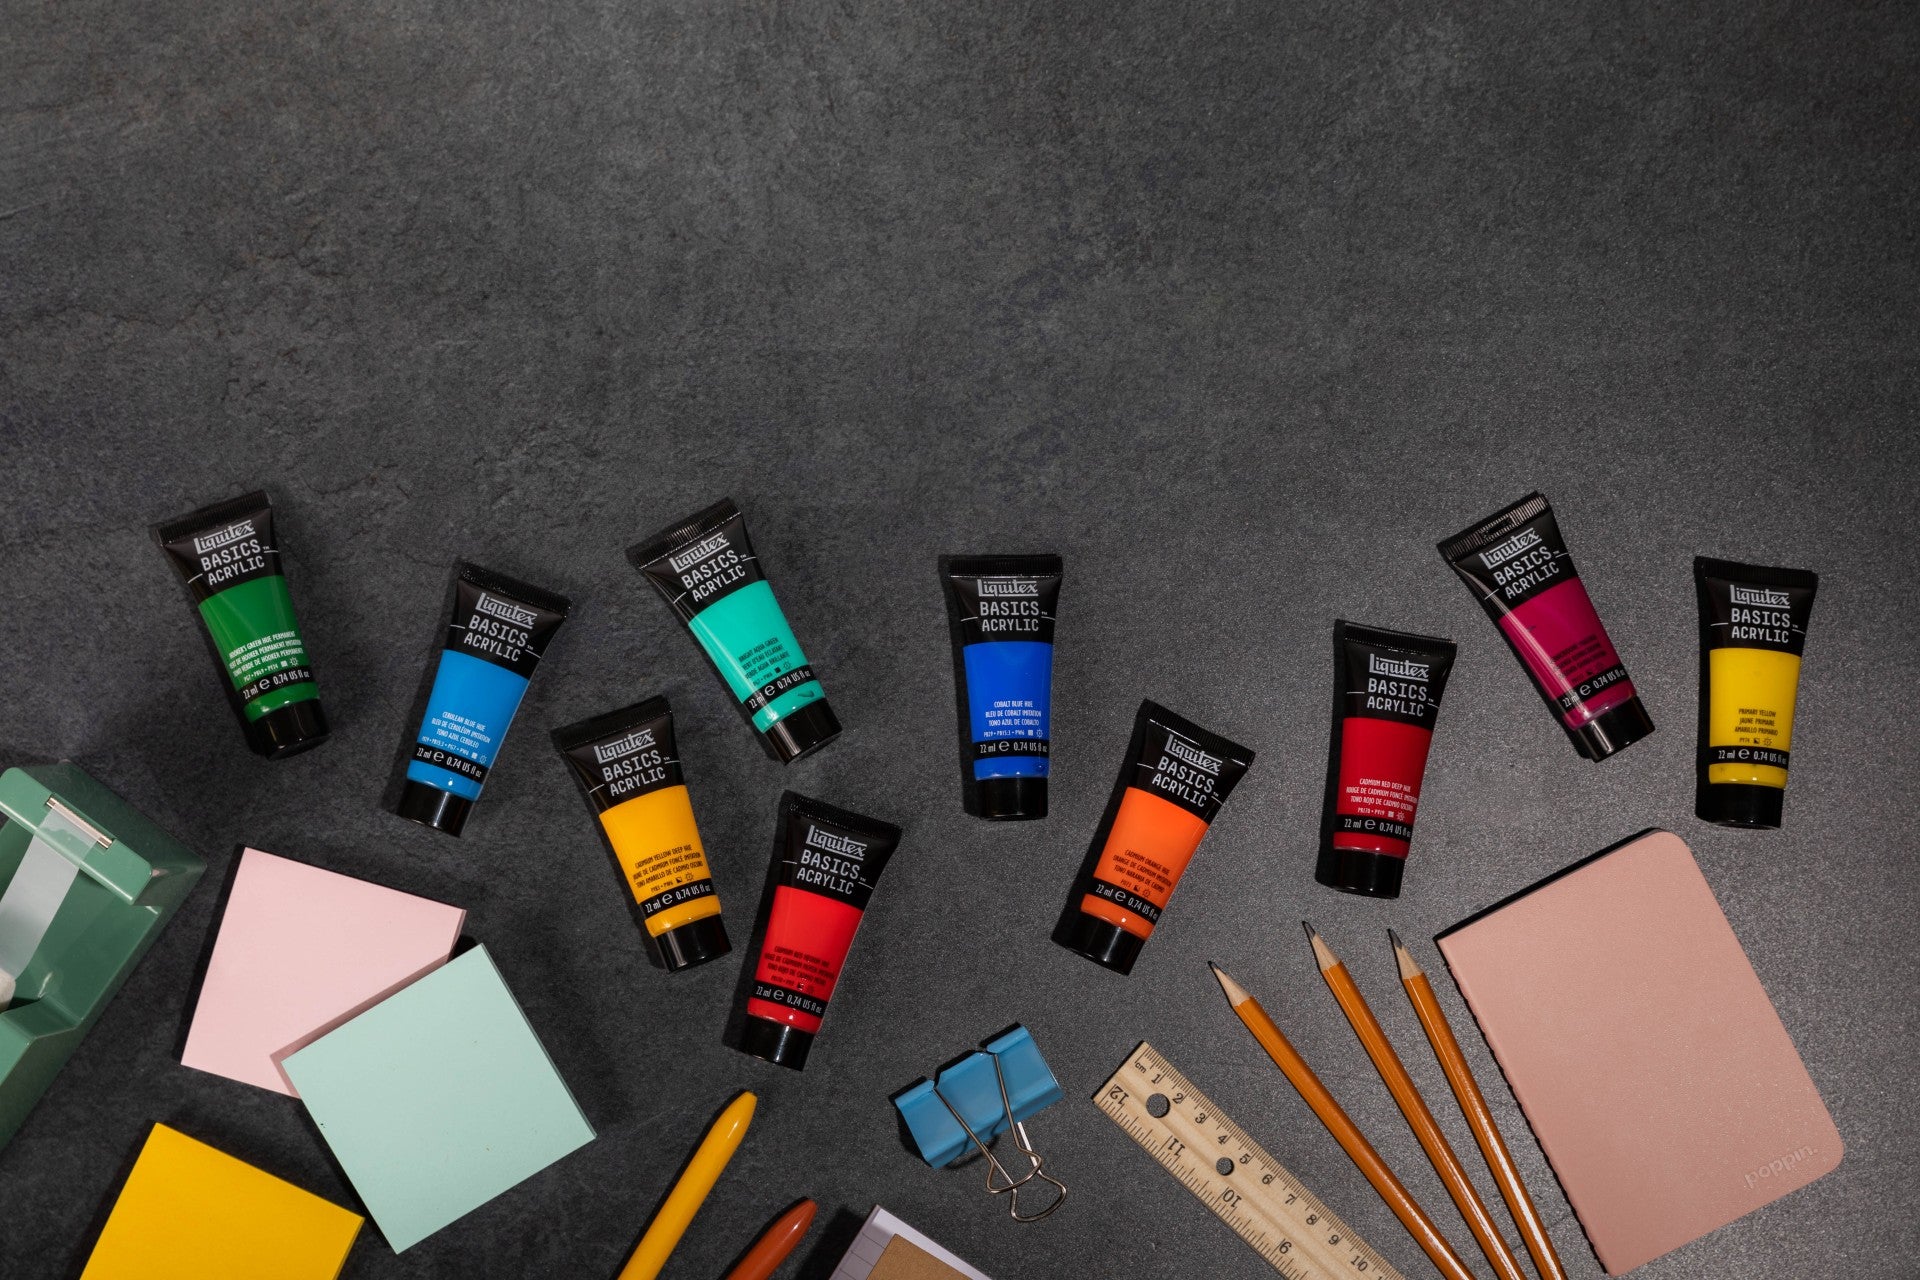
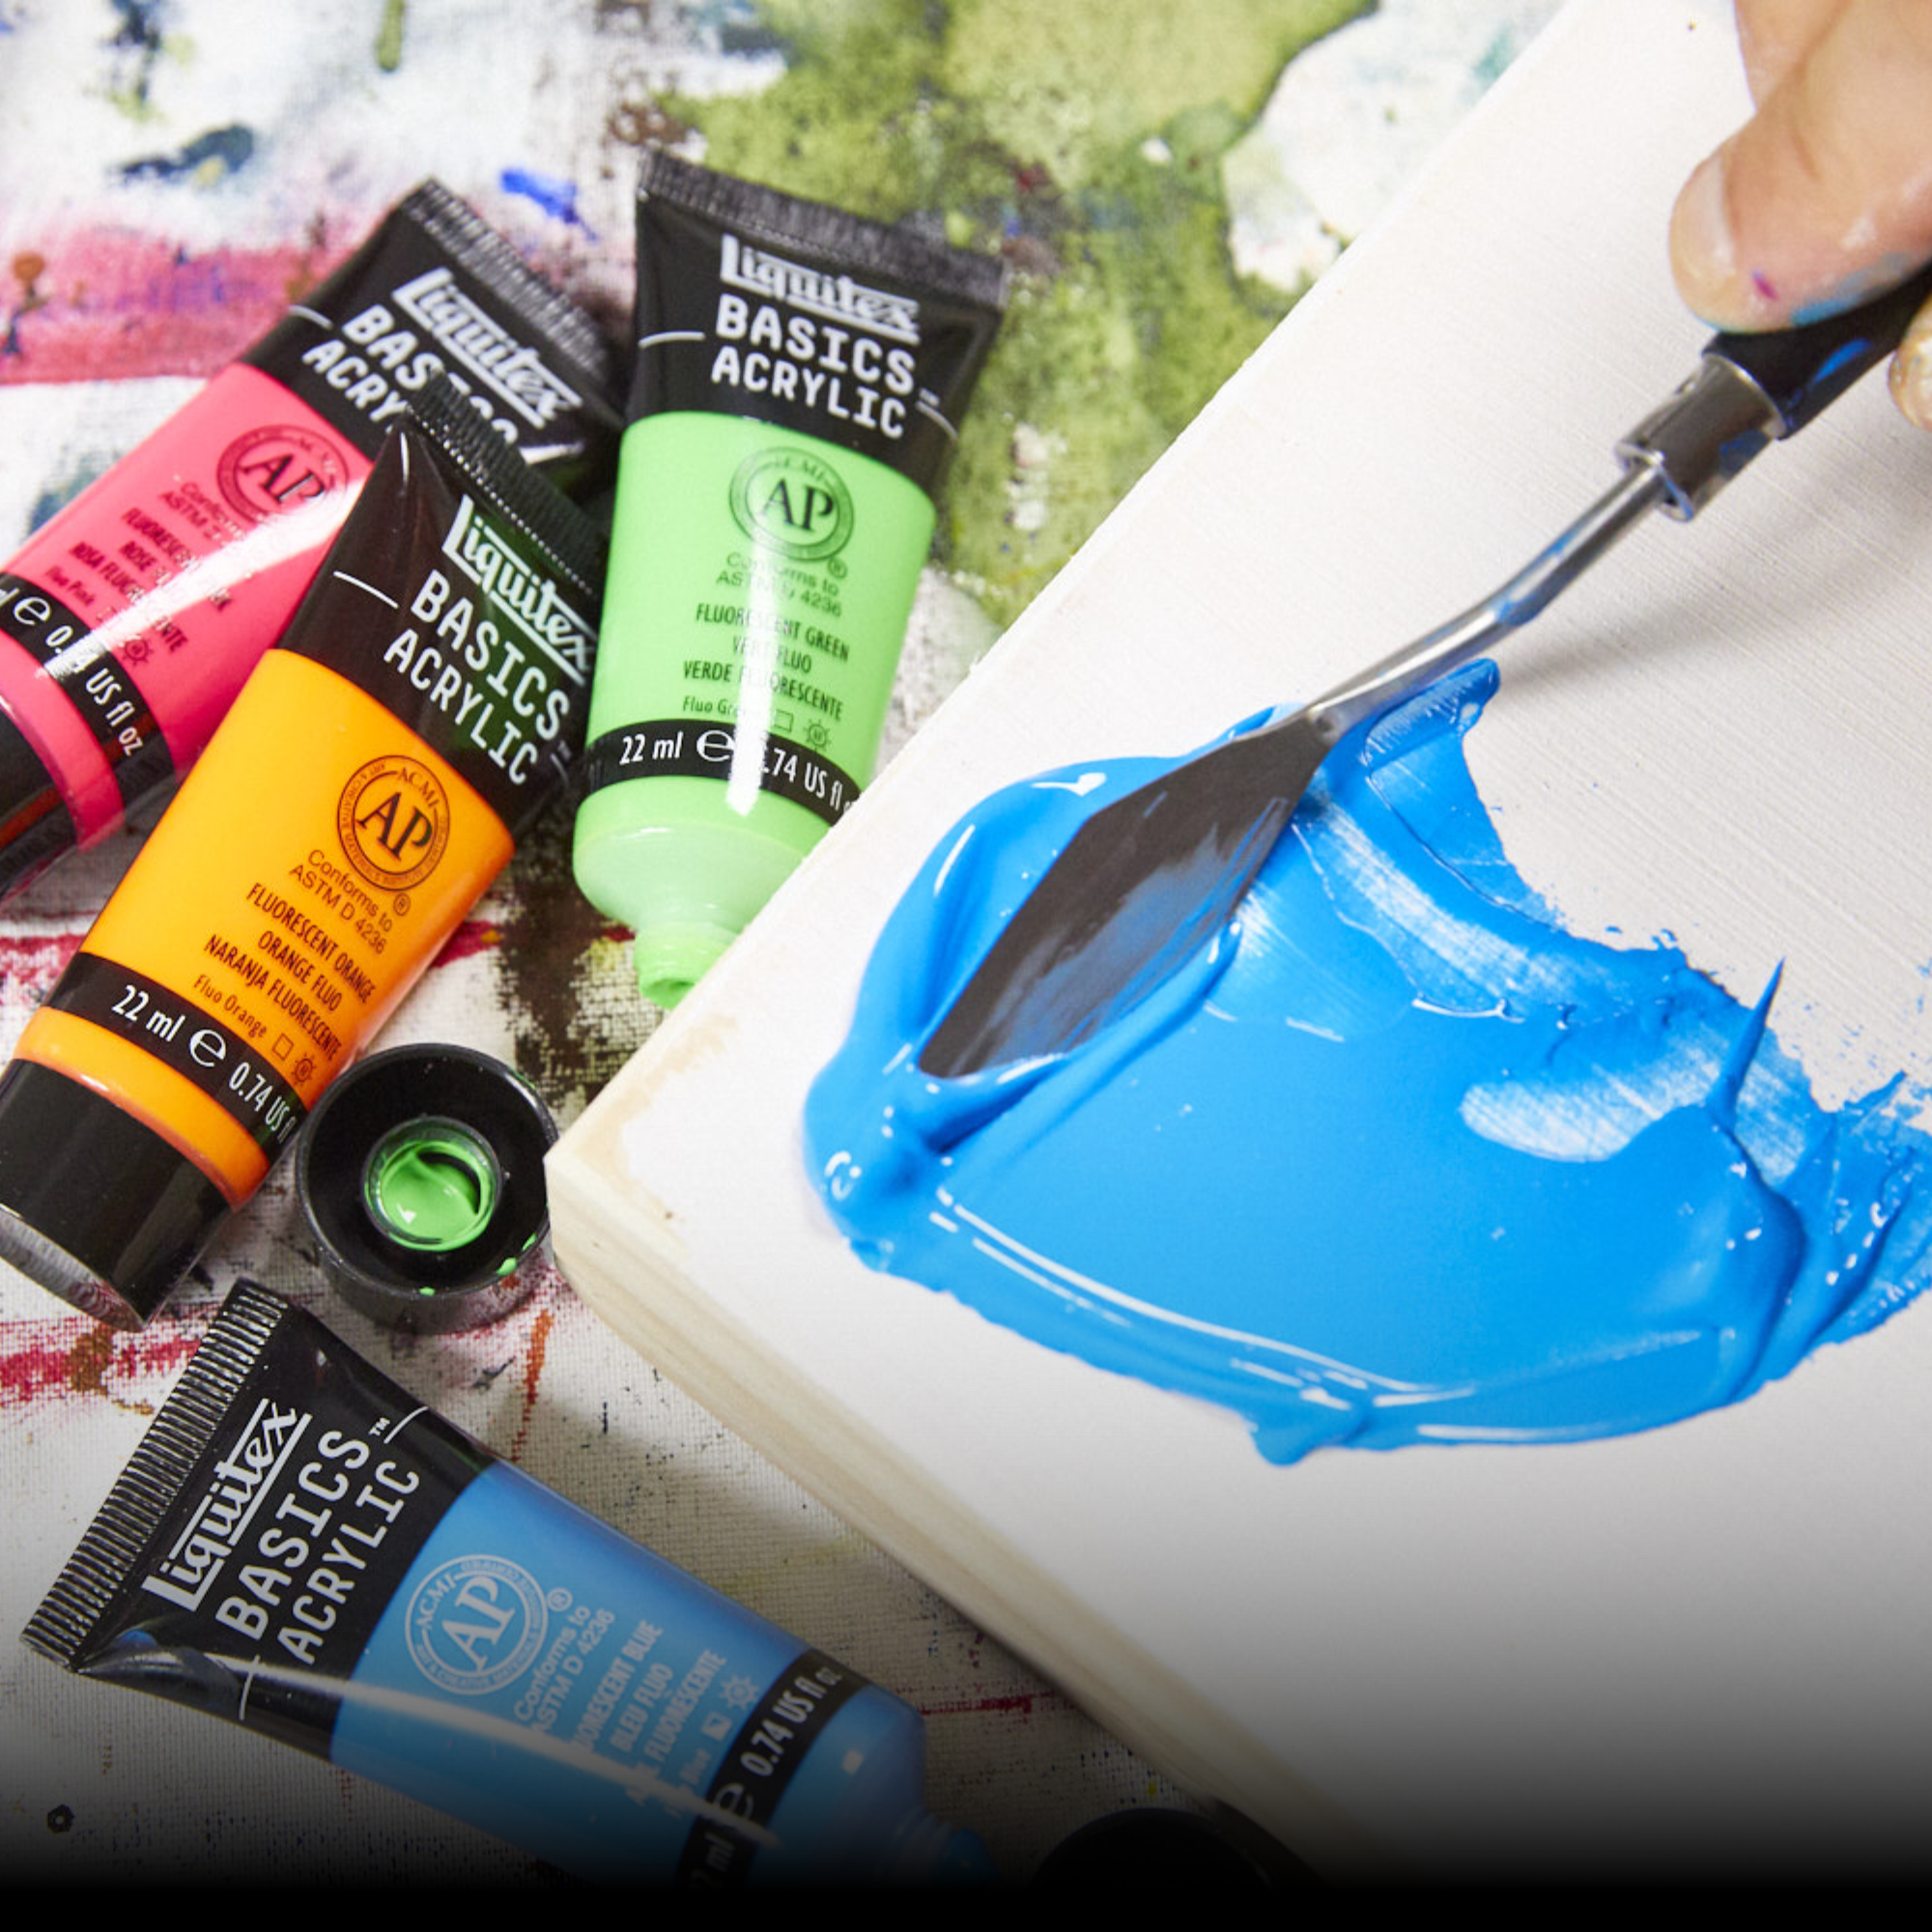
- Liquitex Pouring Medium (in your choice of finish) + Soft Body Acrylic
- Measuring cup and spoon to get the correct ratio
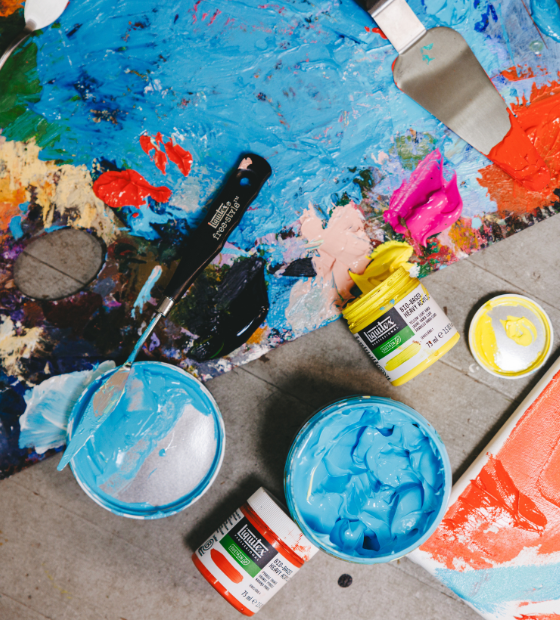
- Large mixing container (optional) and palette knife
- Funnel (optional)
- Pouring vessels
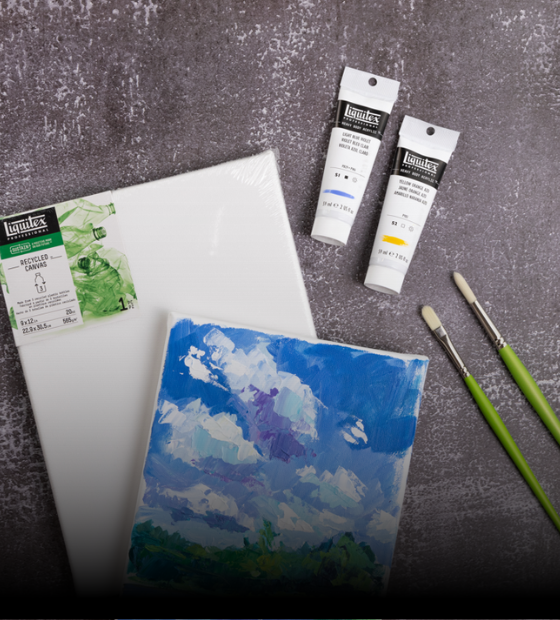
- Painting surface - ie stretched canvas, board, paper or glass
HOW TO
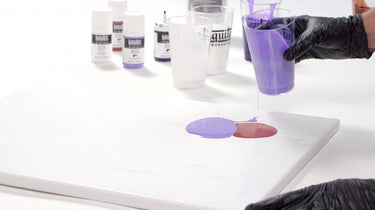
Mixing a custom color? Do this before adding to the medium to ensure uniformity in the pour
If you’re pouring with different colors, prep them all together so they’re all on hand when you start
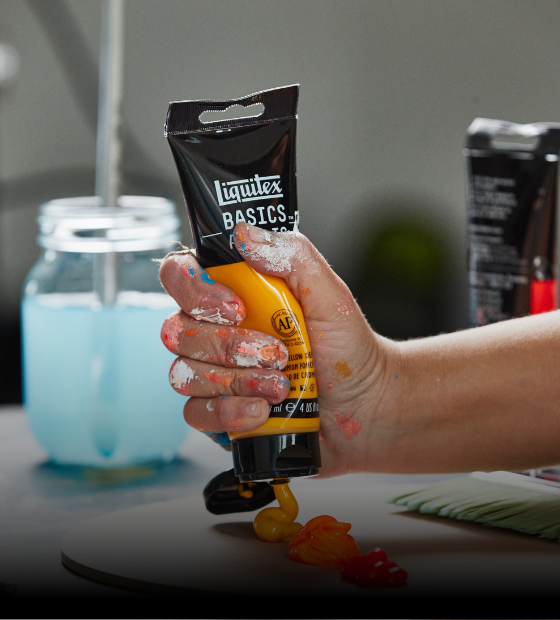
Take a heaped tablespoon of your Soft Body color and mix with a cup of Liquitex Pouring Medium, stirring slowly with a
palette knife. You can do this in a bowl or directly in your pouring vessel
Blend gently to avoid making bubbles and let it sit for 10 minutes for any to disappear
Transfer into your pouring vessel if needed - a funnel can be handy here. You can use all kinds of holders, from a cup to squeezy bottle or jug. Experiment to get different effects
Ready your painting surface. Prep it as you would any other work with gesso or a primer. Lie it on a secure, level worktable away from dust, fans and AC blowers as you want to stop airborne particles settling on the surface while its wet
Then pour the mixture slowly from your vessel onto your surface. Watch as it pools and moves. Experiment with techniques using the ideas below
Always allow at least 1-2 days of dry time depending on the thickness of your paint
IDEAS
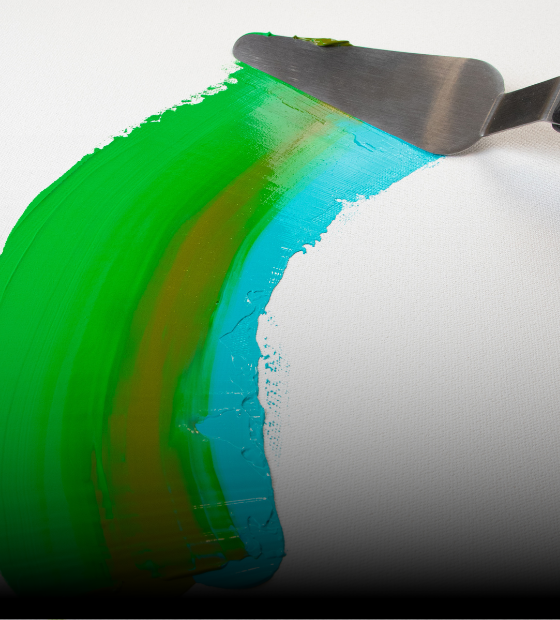
Pour different color pools into each other when wet to achieve sharp dots or concentric circles Turn your support on its side and pour from top edge to create rivers of color and drip effects. Play with angles and quantity for different results.
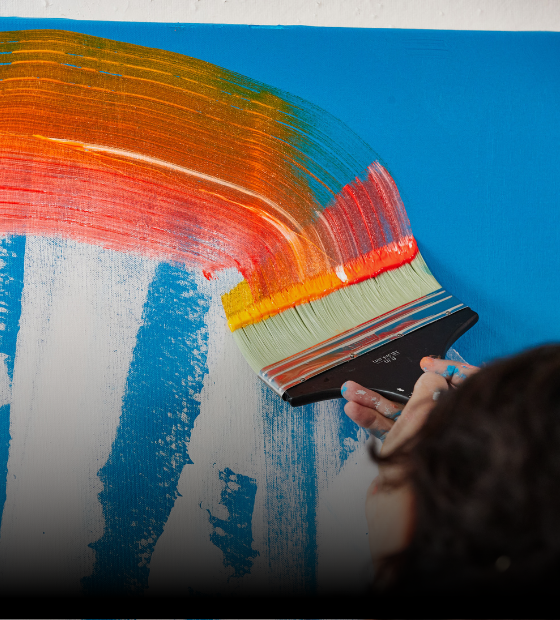
Take a palette knife or fork and drag or blend multiple colors across the surface for a marbled effect
Pour over dry layers for interesting color build-up effects
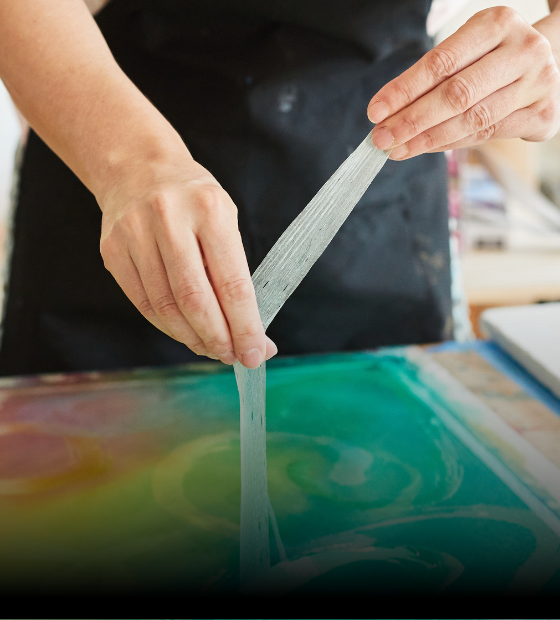
Turn puddles into acrylic skins by pouring onto a glass surface. Treat the surface with a mold release or quick release spray for easy removal when dry. Peel off carefully when fully dry; then sew, glue, hang or roll for different sculptural effects
Go Dutch!
Created by an artist from the Netherlands, the Dutch pour technique uses air to move poured paint on a surface to create unique soft blends and dramatic shapes. You can work with a hair dryer (with funnel attachment on), airbrush, canned air, straw or air compressor. See how below:
Play with different consistencies and fluid mediums to get different results. The ultra-fluidity and high pigmentation of Liquitex Acrylic Ink will create fine streams of liquid color with no smudging or fading. Or try mixing Acrylic Ink with Pro Glazing Medium to create pours of superb vibrancy and transparency – see how:


![LQX ACRYLIC MARKER SET 6X 2-4MM CLASSICS [CONTENTS] 887452001225](http://www.liquitex.com/cdn/shop/files/68762_375x375_crop_center.jpg?v=1707320720)

![LQX BASICS 24X22ML PAINT SET 887452028543 [FRONT]](http://www.liquitex.com/cdn/shop/files/80833_375x375_crop_center.jpg?v=1762458732)


![LQX BASICS 6x118ML SET 887452059226 [SET WITH CONTENTS 2]](http://www.liquitex.com/cdn/shop/files/130398_375x375_crop_center.jpg?v=1707324060)
![LQX BASICS 6x118ML SET 887452059226 [FRONT]](http://www.liquitex.com/cdn/shop/files/130396_375x375_crop_center.jpg?v=1762458768)